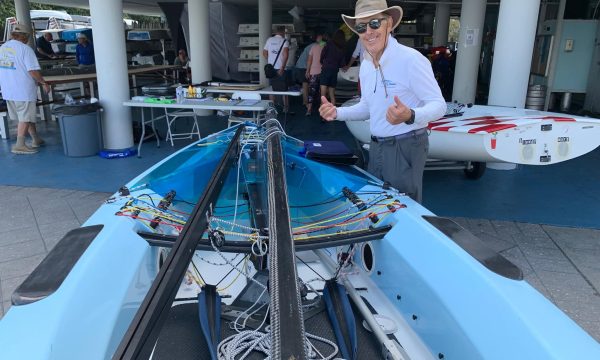
I had always thought if I were to buy a singlehanded dinghy it’d be a Finn but never really pursued it until a couple of years ago I found a 1976 Vanguard on Craigslist for $1000. I emailed the guy a ton of times and asked him a ton of questions and as I started to think about buying it my wife got ‘the look’. She’s pretty supportive of my boat-craziness but money was tight right then so I emailed the guy back and told him I didn’t have $1000 to spend, probably only $500, but that if it ended up not selling to let me know and maybe we could work something out. To my surprise he said $500 would be okay since he would prefer it go to a good home. This is Jim Kirk’s old boat, if anyone remembers him.
It was in sailable shape so I raced it the rest of the season but it needed work. The floor had become unbonded up front and it wasn’t set up with the mast gate for a modern carbon mast. That winter it went into the garage and I stripped it to the hull for modifications to make it more like the modern boats. 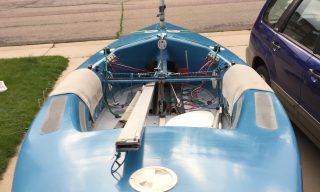
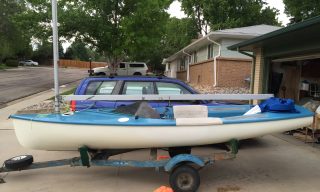
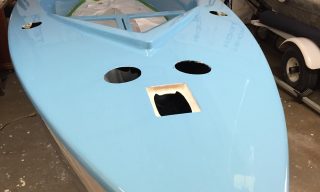
This is how it looked the day I got the boat.
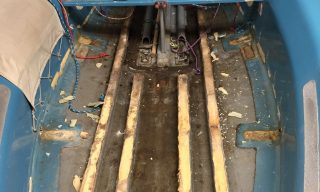
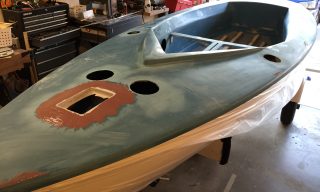
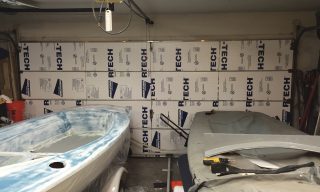
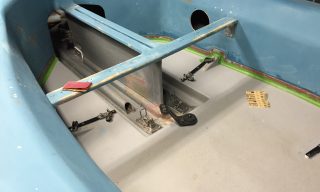
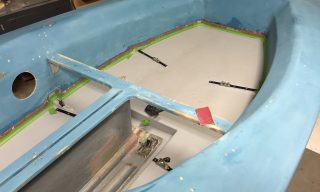
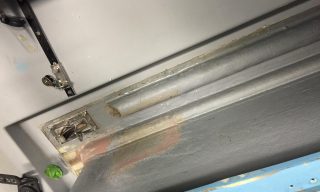
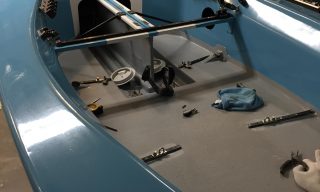
After racing all summer I put her in the garage for an update. First I removed the floor pan. It had become unbonded almost around the entirety of the centerboard trunk and not only was not providing buoyancy, it was holding onto water. Additionally some soft spots similar to laser deck delamination needed addressing.
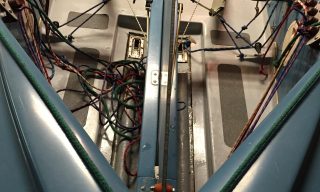
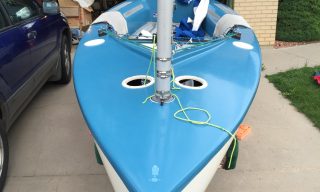
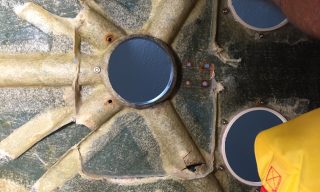
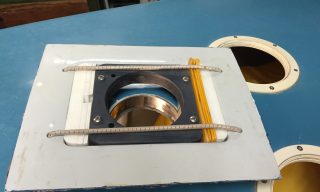
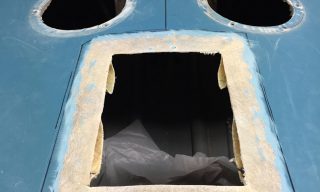
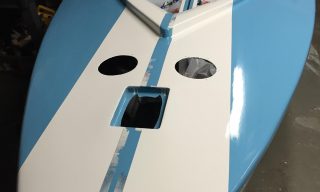
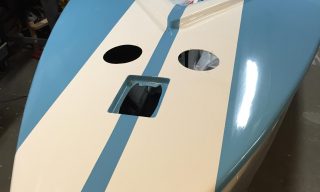
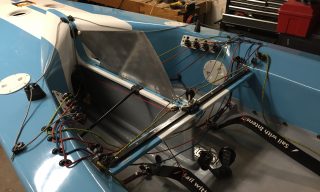
I knew I needed a deck ring to work with the carbon mast I’d purchased. Joe Chinburg provided me with the deck ring from his old boat (Devoti model deck ring). I took about 300 pictures and measurements before making the cut. I was worried it’d be off center or something. It turned out great. You can see in this picture from under the deck that most of the deck stringers have been cut. The old vanguards are built like the proverbial brick outhouse and so cutting the stringers to induce some flex in the deck is thought to be fast. Also you can see an old sort of watertight bulkhead that had been removed as well.
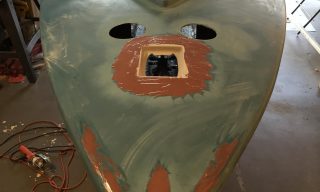
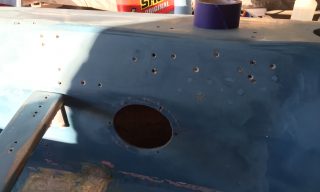
Once the deck ring was in place it was time to glass and fill all the issues with the hull. Originally I was going to put all the hardware back where it was originally but since I was already in this deep I figured why not fill all the holes and set it up how I wanted it.
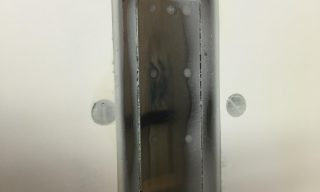
Before paint I flipped the boat over to address the bottom. It still had the old style full rub strips and needed a good polishing. I know some people think that 600 grit is good enough but I’m in the camp that thinks mirror finish, if not faster, is at least easier to keep clean, so it’s mirror-like. I also faired in the bailers with epoxy. They won’t come out now without some work but unless I really screw up getting it off the trailer it’s fine.
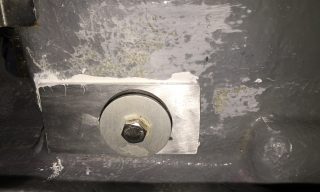
Once that was done I flipped it back over and added a plate to allow the centerboard to be shifted fore and aft like the modern boats. Measure 300 times, cut once. It had to be precise so the board can’t go back further than the rules allow.
Next was paint. I used Pettit Easypoxy. I think it works fine but it’s not as durable as Interlux Brightsides. In retrospect I would have used a tougher paint since dinghies get beaten up a lot. I also had a terrible time with their primer and ended up sanding most of it off. The boat looked like a pair of 80s acid-washed jeans for a while.
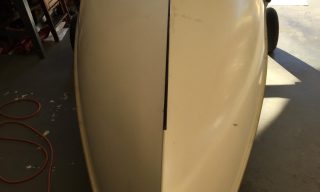
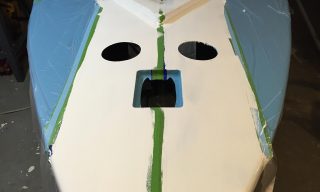
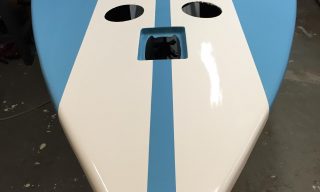
Because I couldn’t paint the entire thing in one go, I painted it in 3 big ‘stripes’. To hide the joints between the paint sections I decided lemans strips would be cool. They’re cool. Unfortunately the striping tape I used to mask it was too aggressive for the sketchy primer and I ended up pulling a lot of paint off. It broke my heart when that happened but it repainted pretty well.
Then I glued the floorpan back in. I built a jig to press down the area around the centerboard trunk and put about 100 screws in around the edges to hold it tight. I had to cut about half the height off the stringers in the back of the boat to get the floor pan down where it should sit but I was assured by someone who used to build these at Vanguard that removing those would have no effect on the boat stiffness.
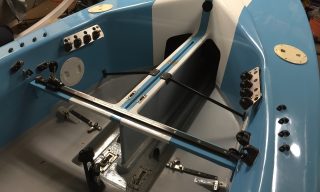
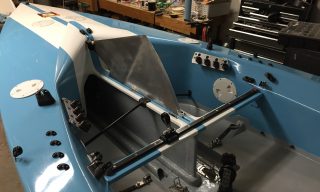
Because the deck on the Vanguards is steeply sloped next to the centerboard trunks I updated the control pods one of the previous owners had built to allow for that. I added trunk stiffeners as well.
I spliced continuous control lines too. Having to tack to cleat something was bad. Eventually I moved them to the top of the trunk from under the traveler as underneath caused too much friction.
Later I bought a new centerboard and a Wilke mast for it. On flat water I have no problem keeping up with the modern boats. We’ll find out next week if I can keep up in waves and chop.
Once the boat was done I weighed it and it came in 1.2 kg under weight. I’ve since added some nicer flooring in the cockpit to eliminate some slipping I was getting on the old non-skid so it should be right at minimum now.

